VMD tutorial
Generate good-looking images and movies with VMD
Visual Molecular Dynamics (VMD) is a free molecular graphics software that can be used to visualize molecular dynamics systems. VMD has been used to generate all the images of molecular systems here.
The goal of this extra tutorial is to provide some tips to make good-looking pictures and videos of molecular systems.
Looking for help or have feedback for us?
Visit the Looking for help? page to get in touch with us.
This tutorial was tested with the 1.9.3 VMD version.
Practical example
To follow this tutorial, download this LAMMPS trajectory file, which corresponds to a mixture of water and toluene.
The water molecules use types 1 and 2, and the toluene molecules use types 3, 4, and 5.
With Ubuntu/Linux, the lammptrj file can be opened with VMD by typing in a terminal:
vmd dump.lammpstrj
Otherwise, simply open VMD and import the dump.lammpstrj file manually using File -> New molecule.
Go to Display, change the view to Orthographic, and unselect Depth Cueing.
Still in Display, select Axes -> Off.
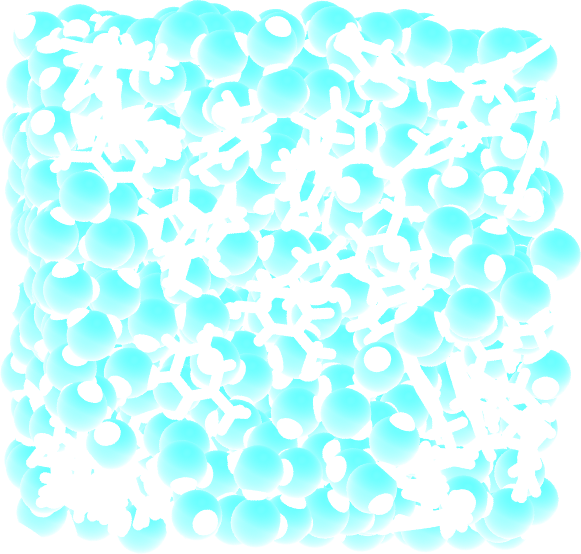
Figure: Initial system in the absence of depth cueing and with orthographic view.
The representation
In the main windows of VMD, go to Graphics, Representations. Within the Selected Atoms windows, replace all by type 1. Here, type 1 corresponds to the oxygen of the water molecule. Change the Drawing Method from Lines to VDW. Tune the Sphere Scale to 0.9, and increase the resolution to 52.
Click on Create Rep to create a second representation for the hydrogen of water, select type 2, and change the Sphere Scale to 0.5.
Create a third representation for type 3 4 5, i.e. all 3 atom types of toluene, respectively carbon, hydrogen, and another carbon.
Choose DynamicBonds and increase the bond resolution to 52. With DynamicBonds, the ends of the bonds are rough. To smooth out the representation, create the fourth and last representation (VDW with Sphere Scale 0.2) for types 3 4 5*.
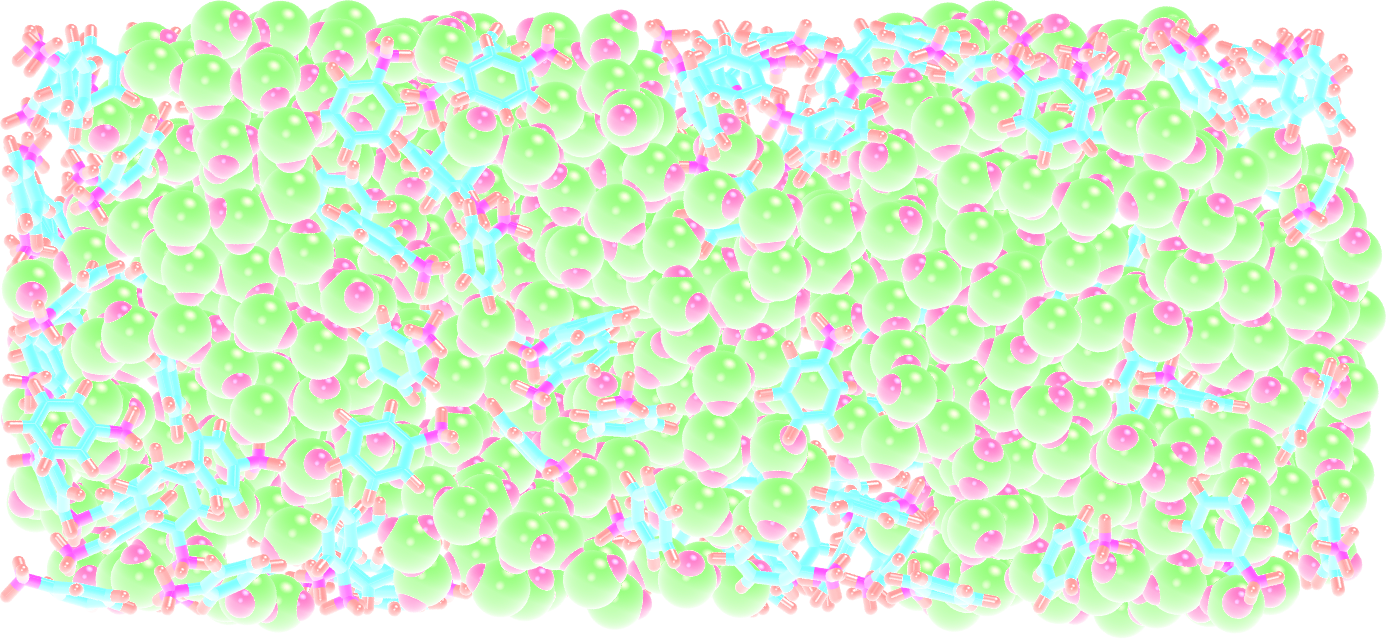
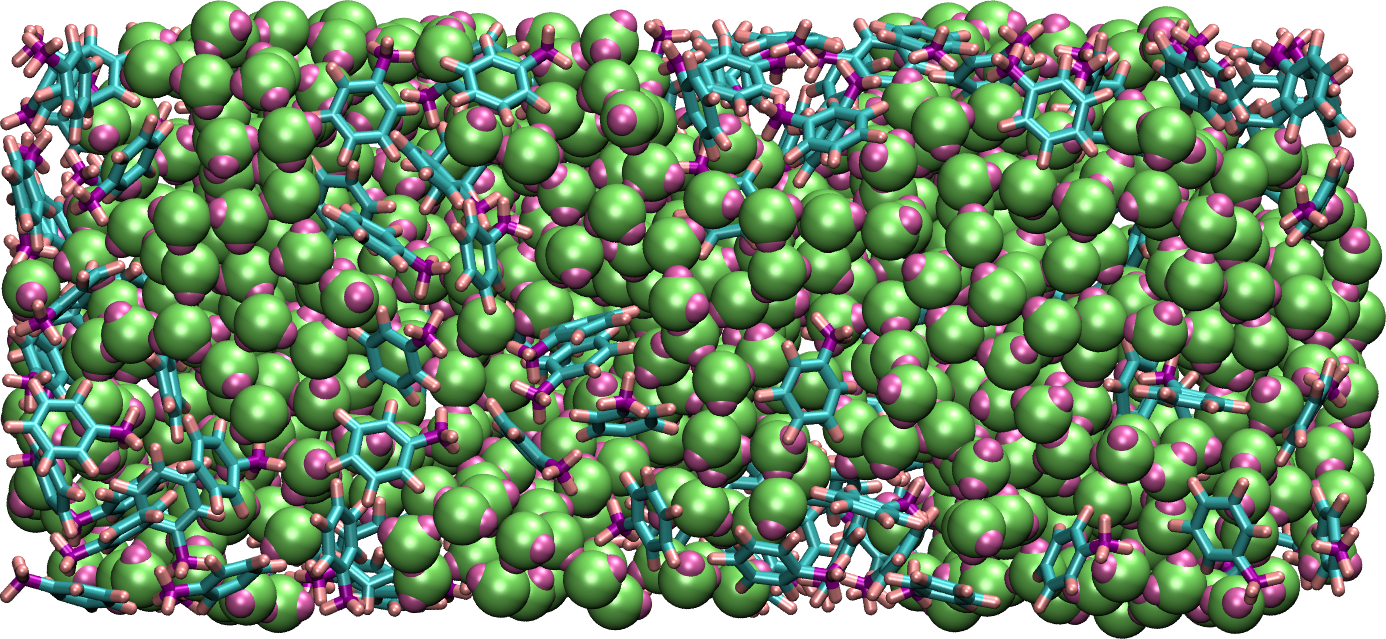
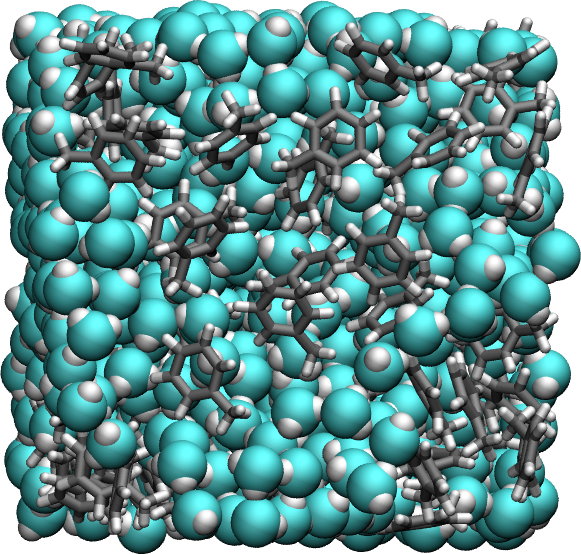
Figure: Orthographic view of the system with improved representation.
The colors
To change the colors, go to Graphics, Colors, click on Display, then Background, and choose the color you prefer (white is better for publication, black can be good looking on presentation with a dark background).
Still in the Color Controls windows, in Categories, click Name. In the Names sub windows choose 3 (carbon) and select the color silver. Then, do the same for 5 (also a carbon \(\to\) silver), 4 (hydrogen \(\to\) white), 2 (hydrogen \(\to\) white), 1 (oxygen \(\to\) cyan).
Note that the cyan color is not standard for oxygen. Feel free to change it based on your taste.
Let us slightly change the original cyan of VMD by entering manually the values 0.3, 1.0 and 1.0 in the RGB box.
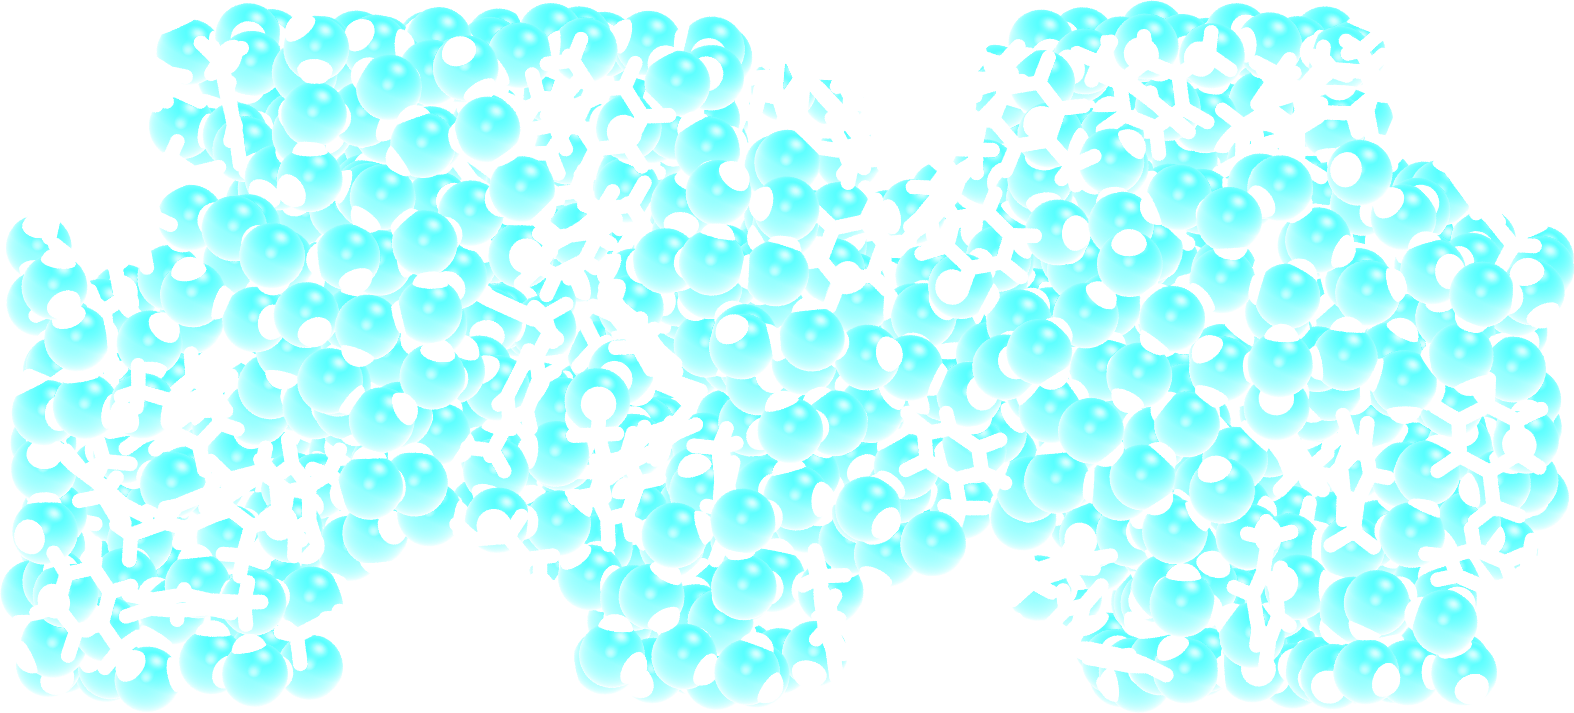
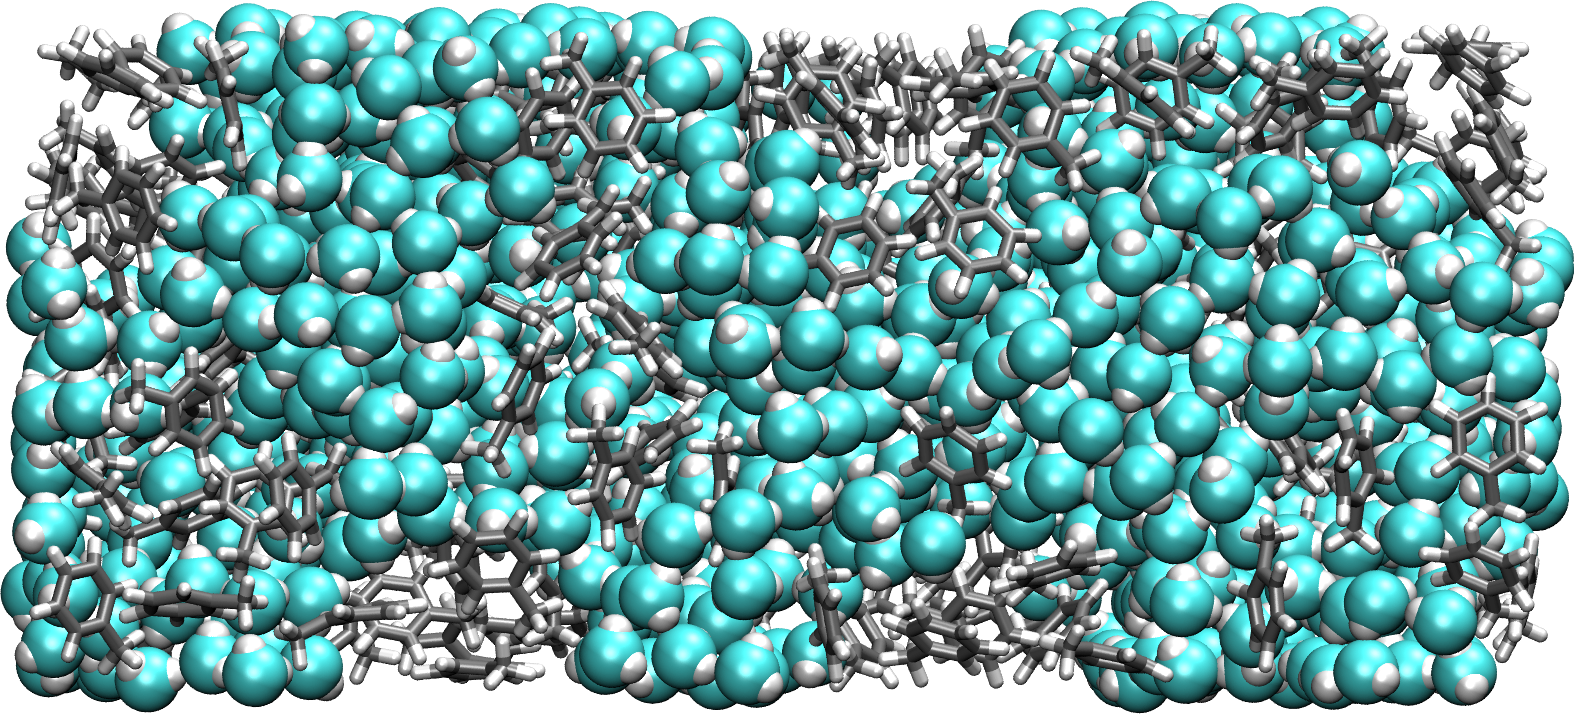
Figure: Orthographic view with improved representation and color.
The materials
In the Representations windows, you can choose among several materials that are more or less shiny or opaque.
Let us select the default material named Opaque, and change Diffuse, Specular, and Shininess, to 0.56, 0.12, and 0.29, respectively.
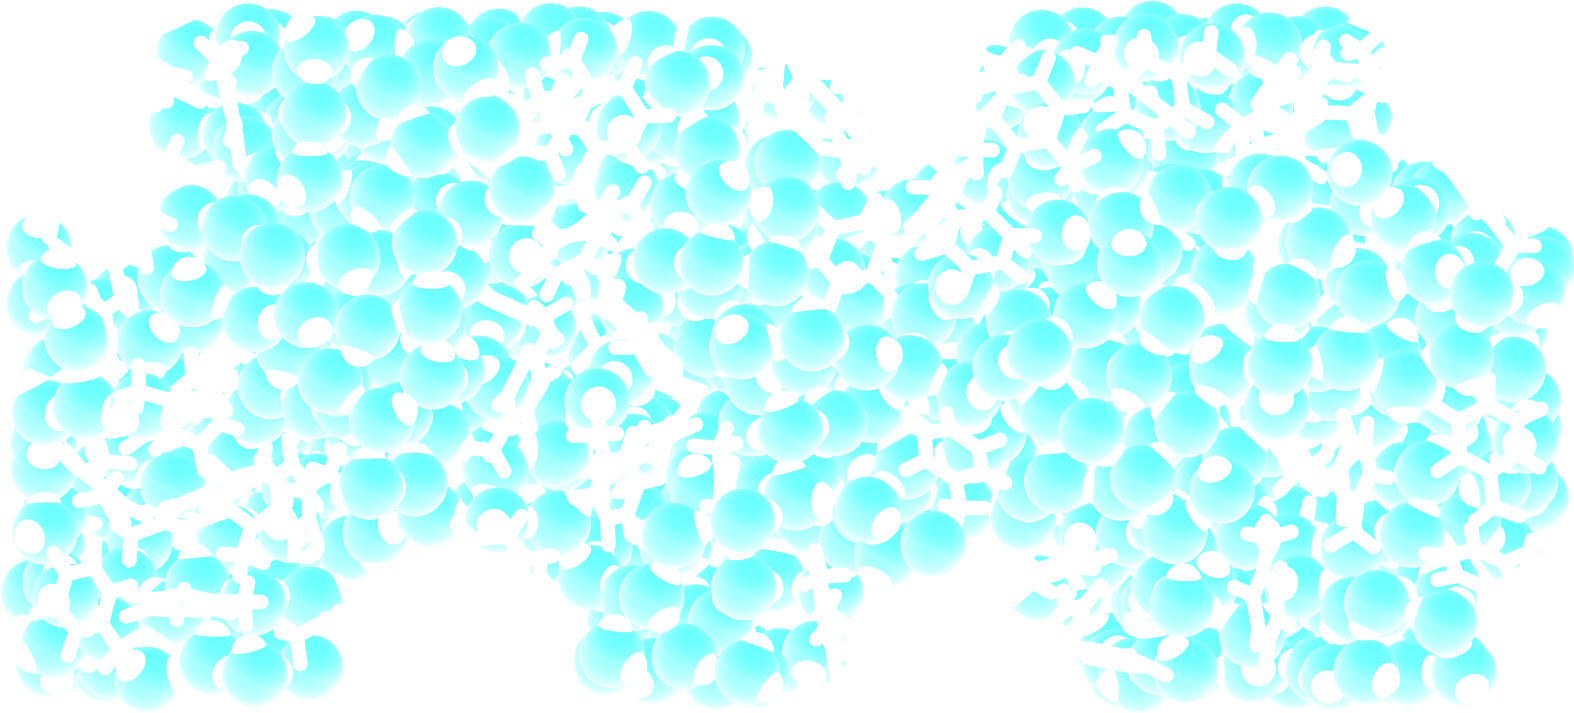
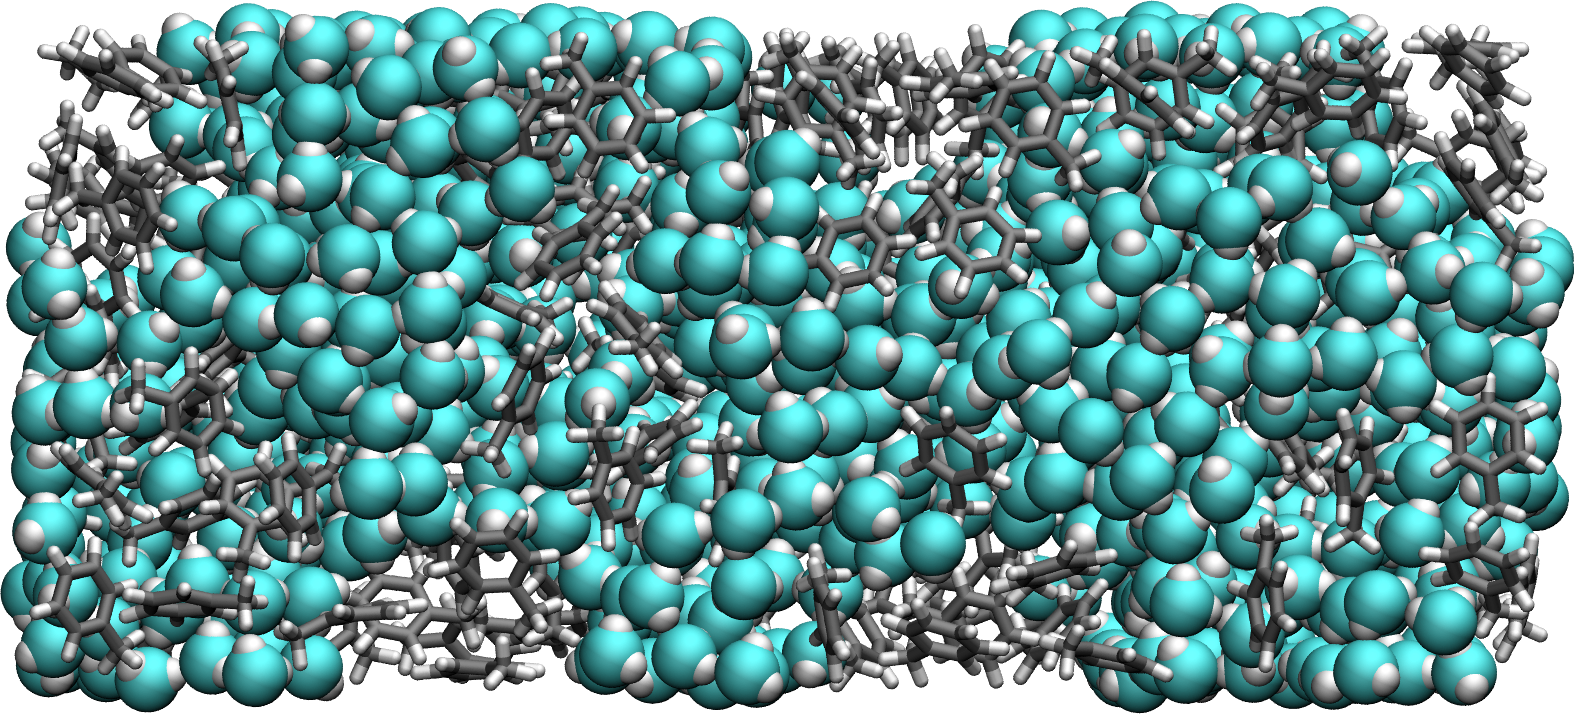
Figure: Orthographic view with improved representation, color, and material. See the corresponding video.
Additional options and rendering
Transparent field
A great representation offered by VMD is the Quick surf, that can be combined with transparent material.
Here I turned off Light 0, and turned on all three other default lights.
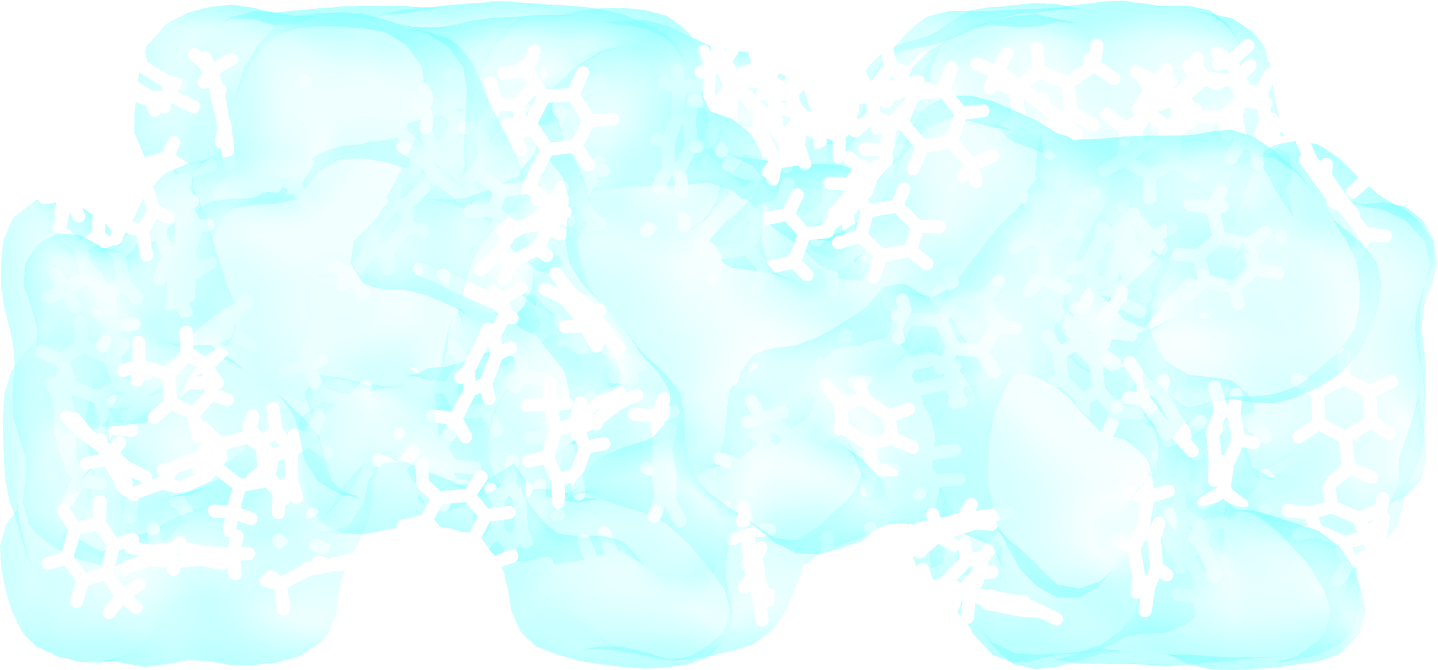
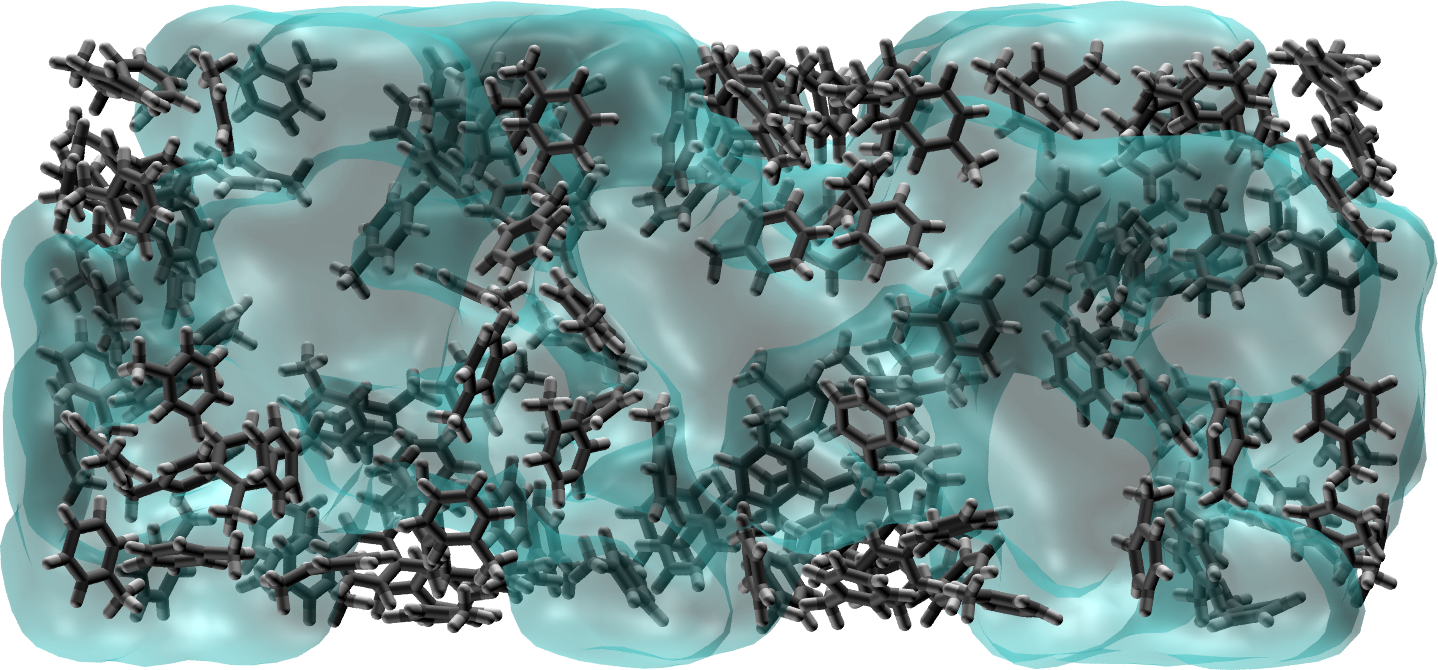
Figure: System with water represented as a transparent field.
Goodsell
VMD also offers the Goodsell cartoon-like representation, which can be an interesting alternative.
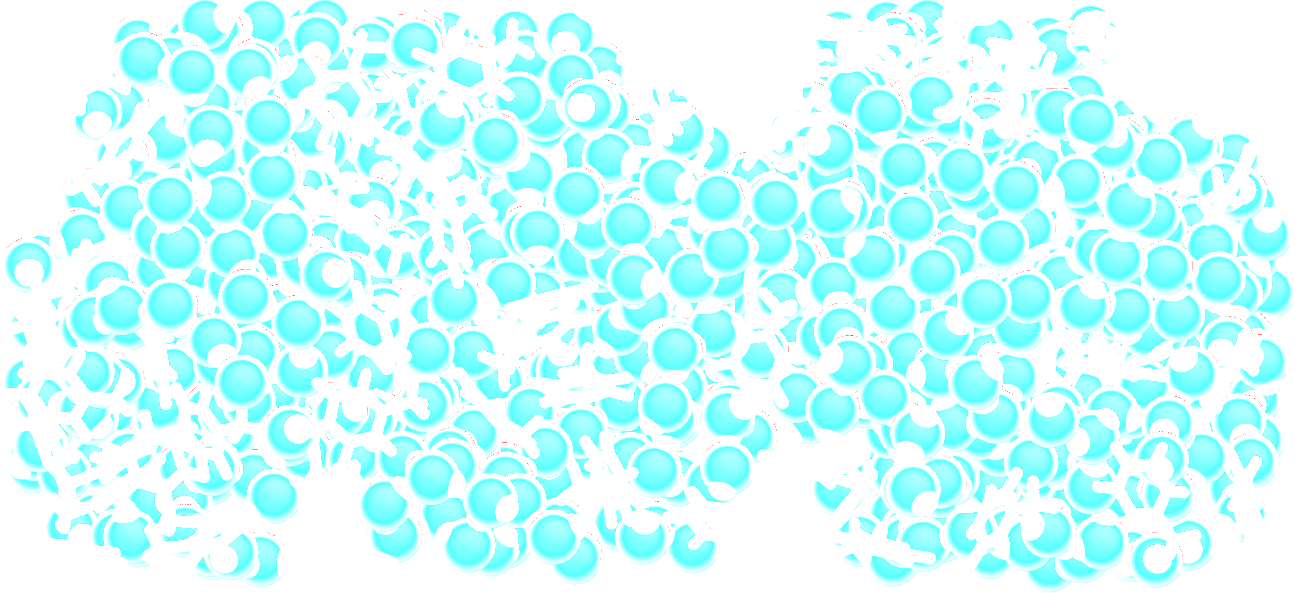
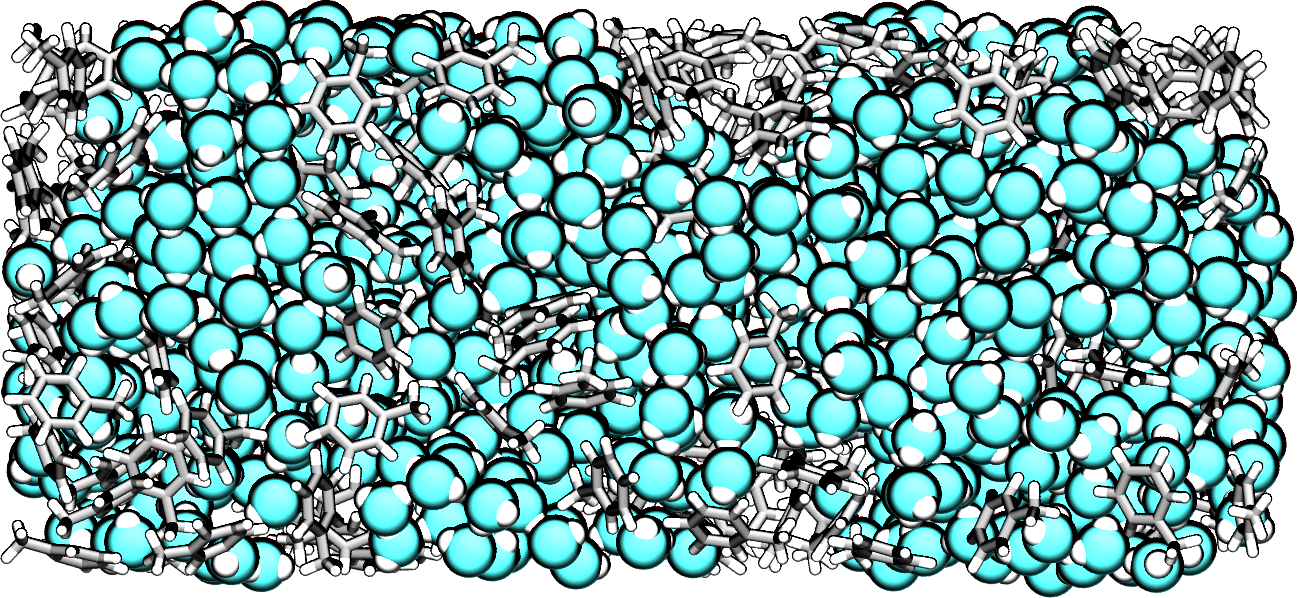
Figure: System in the style of David Goodsell.
Box border
Optionally, you can visualize the borders of the simulation box by typing in the VMD terminal:
pbc box -center origin -color black -width 2
Saving a state
To avoid redoing all these steps every time VMD is re-opened, one can save the VMD state by clicking File → Save vizualisation state. This state can then be used simply by clicking File \(\to\) Load vizualisation state.
Rendering image
To generate high a resolution image, go in File → Render, choose Tachyon, hit Start Rendering.
Rendering movie
To generate a high-resolution movie, go into Extension, Vizualisation, and Movie Maker.
If you hit Make Movie directly, the movie generated by VMD will be of poor quality. Instead, it is better to generate a sequence of high-resolution images, and assemble these images.
Go in Movie Settings, hit Trajectory (so the movie will show the system evolving in time, and not rotating on itself), Uncheck Delete image files. In Rendered, choose Tachyon, then hit Make Movie.
From the Linux terminal (not the VMD terminal), assemble the images (all starting with untitled) into a single movie by typing:
ffmpeg -r 60 -i untitled.%05d.ppm -vcodec libx264 \
    -crf 0  -pix_fmt yuv420p myvideo.mp4
You may receive the following error:
width not divisible by 2 (1363x1134)
In that case, simply remove one line of pixel with the command:
for file in untitled.*.ppm; do convert $file -crop 1362x1134+0+0 $file; done
To convert the video in webp, for web integration, use:
ffmpeg -i myvideo.mp4 -vcodec libwebp -filter:v fps=fps=20 \
    -lossless 1 -loop 0 -preset default -an -vsync 0 myvideo.webp